
One of the perks of being a master gardener is all the great lectures you get to attend. And today’s talk following the board meeting was no exception. It happened to coincide with the very moment I was asking myself “What’s going on with my lavender?” Here was professional grower, Sophia Watkins, ready to answer all my questions.
ABOUT SOLEADO LAVENDER FARM
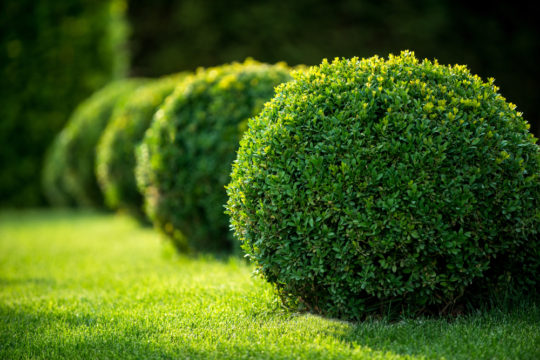
Watkins runs a family-owned, sustainable farm called Soleado Lavender Farm. Located in Dickerson, Maryland, it is the largest of its kind in the state. Watkins grew up on the 286-acre property, 26 acres of which are now dedicated solely to the growing of lavender.

Soleado Lavender Farm
The family prides itself on its long history of organic farming, a practice Watkins’ father adopted back in the 1960s. During that time, the farm grew primarily a mix of soybeans and grains. For a child, it was a great way to grow up. So later, when Watkins and her fiancé took over the farm, they knew they wanted to continue the tradition.
“Our goal was about preservation even more than about gardening,” she said. “We wanted to protect these special parts of Maryland and keep them alive for not only our own child but for everybody else’s children as well.”

Why choose lavender? The couple was looking for a sustainable perennial that deer wouldn’t eat and one from which they could make products for sale. Lavender fit the bill — not only for its drought-tolerance, but also for its many decorative and culinary uses. As the farm grew in popularity, the couple added bees for pollination. And today, the farm boasts nine hives with over 40,000 bees in each, all producing lavender honey.
In recognition of Watkins’ fiancé’s Latin American roots, they named their farm Soleado, signifying sunny or ‘baking in the sun.’ As it happened, in their first year of operation, Watkins says they found themselves ‘dying in the heat’ as they got things established. Consequently, Soleado took on a new shade of meaning.
TOP TIPS FOR GROWING LAVENDER
At Soleado Lavender Farm, all of the plants are grown from cuttings, a practice most nurseries have adopted due to the lower germination rate of seeds. Watkins harvests both soft and hardwood cuttings in summer, strips all but two or three leaves at the top then dips them in a root hormone to encourage propagation. Not surprisingly, her top choice for root hormone is honey.

So as to give the roots plenty of space to develop, Watkins then plants her cuttings in a ‘bulky’ growing medium composed of Leafgro and perlite. Later, she transfers them to 2” plastic pots.
Once potted, the cuttings spend up to 8 weeks in partial shade or in the greenhouse (under shade cloths) until substantial roots begin to appear. In due course, the new plants are moved to the field. Watkins noted that if the cuttings are planted outside first, the process usually goes faster.
THREE IS THE MAGIC NUMBER
According to Watkins, three is the magic number of years it takes for a good-sized plant to develop. After that, it may continue to grow for another four. What happens around year seven, I asked? If taken care of properly, lavender can live for anywhere between ten and twenty years. And incredibly, some historical properties boast plants that are over 80.

A great combo, hydrangea and lavender
Regardless of age, once established, lavender is a sun-loving plant. This explains why no variety can tolerate shade and still produce flowers. Once the flowers are harvested, Watkins sprays the plants’ roots with fish emulsion for fertilizer. “We need to fortify them after they’ve put all that energy into blooming, “ she said.
GROWING LAVENDER IS A LOT ABOUT THE CUT
There is much conflicting information about when and how to cut back lavender. Watkins freely admits that her method might not suit everyone, but at Soleado Lavender Farm, they prune their plants two to four times a year. She shears her crop like sheep, cutting back all new growth each time the plants flower. This process begins almost as soon as the cuttings are transplanted.

Cutting back encourages new growth
Cutting back not only encourages new, dense growth, but also helps mitigate lavender’s annoying tendency to open up in the middle. It also improves the overall looks of the plant and enables it to better survive the winter. Further, it redirects energy into developing strong roots, which according to Watkins, results in a thicker, healthier plant.
At Soleado Lavender Farm, however, they never prune anything thicker than a pencil. And they avoid old wood. Watkins does NOT recommend cutting back old woody stems. If you absolutely must, she said to trim them back just to where the first bunch of leaves start on the bush.
They stop all cutting by the end of October.
SHREDDED MULCH: LAVENDER IS NOT A FAN
Along with lots of sun, lavender prefers to stay dry. Ironically, once of the main threats to its survival comes in the form of mulch. According to Watkins, shredded mulch is the biggest offender. Since it often harbors mold spores, this kind of material can spell death for lavender.
“What seems to really kill them is the mold spores that come in on shredded mulch,” said Watkins. “Given the amount of humidity we have (in Maryland), it’s really important to stick with a dry medium.”
If you’re using shredded mulch in the rest of your garden, Watkins advises keeping it at least one to two feet away from your lavender. At the farm, they use crushed bluestone instead (that they harvest from their driveway.) Other great options include white gravel and seashells, both of which have the added benefit of reflecting light back onto the plant.

White gravel mulch
WINTERING TIPS FOR GROWING LAVENDER
Many of us have lost lavender plants over the winter. However, Watkins said, “Getting your plants through the winter does not have to do with size or age, even little seedlings can make it through the winter. A temperature of anything above 0 degrees Fahrenheit is OK.”

Frozen lavender
So what can we do to prepare for the colder months? The most important thing, according to Watkins, is to keep plants trimmed and thick. The thickness (or thatchiness) is what keeps the snow and ice out of the plants. (Although snow doesn’t seem to be as bad for lavender as ice.)
In short, it’s a matter of creating a plants that have a good smooth cut on them so they become their own insulation.
Recently, a new lavender introduction called “Phenomenal” is showing amazing cold hardiness, retaining its leaves all through the winter.
NO SIGNIFICANT PESTS OR DISEASES
Not only are its water needs low, but lavender also is resistant to most pests and diseases. Watkins says occasionally she’ll observe spittlebugs on her plants, but that’s about it. The main concern is lavender’s super susceptibility to mold spores caused by humidity. As I noted above, the best thing you can do for mold is to practice prevention.
Another great plus to growing lavender is that deer hate it, although Watkins observed that “Sometimes they’ll pull the young plants out of the ground, ‘Just because.”’

Soleado Lavender Farm grows a mix of English, French and Spanish lavender varieties. They’re always experimenting with new strains and each year discover clear standouts. These days, Watkins is loving the “rabbit ear petals” on the flower tops of Spanish lavender.

Spanish lavender
To learn more about Soleado Lavender Farm, its tours and lavender-based products, click here for the official website.
Updated March 2021


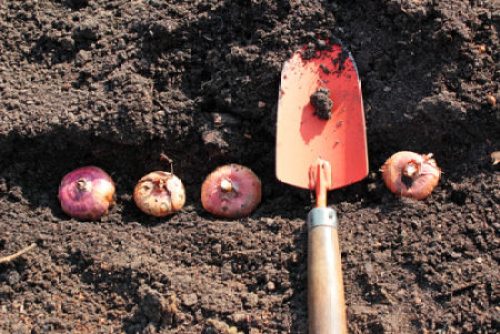


 WAYS TO SLOW BULBS FROM COMING UP TOO EARLY